
Whether you find yourself prepping for a disaster scenario or you are already in one, finding food that will last a long time is difficult. Without electricity for refrigeration and freezing, most food will rot or spoil within a few days. To find foods that will last long term and give us the nutrition we need to keep going, we are best to look at the actions of our ancestors.
For millennia humans have been forced to find foods that will store for years at a time, and that will travel well. Whether we look at soldiers carrying rations for battle or explorers with no destination in sight, history can show us what foods will store best. Hardtack is one of those foods.
History of Hardtack
Hardtack is a dry biscuit that can be traced back to the ancient Egyptians. This food is easy to make, and when done correctly it can be stored for years. Egyptians would bake these biscuits and ration them to their soldiers and scouts.
Hardtack re-emerged in the civil war as soldiers again needed food that could stay in their packs for weeks at a time without spoiling. We have actually discovered hardtack over a century old that was still safe to eat.
How Does It Work?
Hardtack is a perfect survival food because it provides carbohydrates that are difficult to find in the wild. This gives you the energy you need to keep working or travelling. The reason it preserves so well is that all of the moisture is baked out of the biscuit. Typically bacteria and mould are the two primary causes of food spoilage. But bacteria and mould cannot grow if you remove the moisture from the biscuit. If hardtack is made properly and kept in a cool, dry place, it can last for years.
ALSO SEE: Five Reasons to Add Freeze-Dried Food To Your Survival Pantry
How to Make Hardtack
Making hardtack takes some time, but is an incredibly simple process. First, you need to add two cups of flour to a large mixing bowl. Then, add two tablespoons of salt for flavour. You can add additional ingredients to hardtack, but anything more than salt and flour will decrease the shelf life of the finished product. Add water a little bit at a time and work it into the flour until you have a sticky dough. Do not knead the dough because you do not want to build up gluten for hardtack.
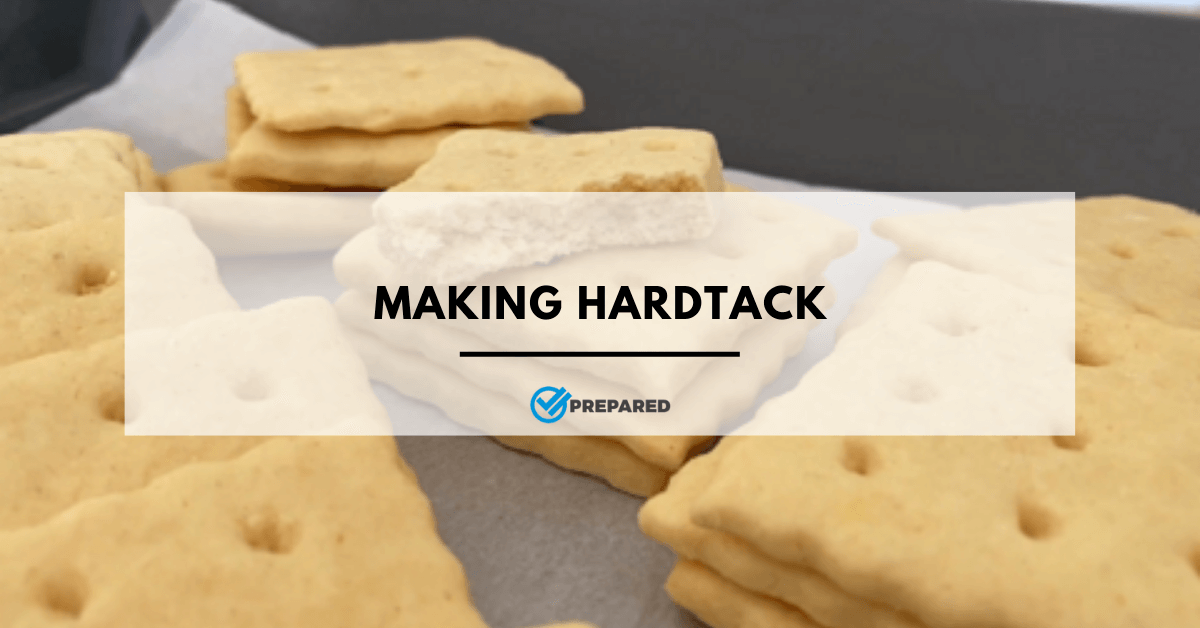
Once you have moulded the dough into a ball, move it to a floured table. Flour a rolling pin and start rolling out your dough. Use as much loose flour as possible, or the dough will stick to the table or the rolling pin. Roll it out to roughly a ¼ inch (6mm) thick. Then you can cut it into whatever shape you like. I typically cut mine into large squares so I can use the hardtack as a plate for any other food I am eating.
Preheat your oven to 250F (120C). Place your hardtack on an ungreased baking sheet. You will need to poke dozens of holes in each piece of hardtack so that the heat and air can get to the core of the dough. I like to use a fork for this process.
Place your baking sheet on the centre rack in the oven, and set your timer for two hours. After the initial bake, flip over the hardtack and bake for another two hours at the same temperature. Set out cooling racks and cool the hardtack after it has baked for four hours. Once completely cool, bake for another two hours. Flip it over and bake for two more. The finished product should have been baked for a total of eight hours. Let it come to room temperature and then store it in a cool, dry place.
In Conclusion
Hardtack is tough to eat as is, but you can wet it with water or milk. You can also add it to soup as a dumpling. There are several ways to make hardtack more enjoyable, but it can always be eaten as is.
With just a little time and effort, you can bake food that can last years in your pantry. It is perfect for your next adventure or to save for that SHTF scenario. Most importantly, hardtack will give you the strength you need to press on and complete the tasks required for survival.

Chris was born and raised in South Africa and has worked in the field of risk management, organisational resilience, and business continuity for more than a decade. During his career he has seen how private and public sector organisations benefit from effective risk management and business continuity planning. Realising that families and communities can also benefit from the same tools, methodologies, and principles, he started Prepare with Foresight.
Prepare with Foresight was launched to assist individuals and families to have the peace of mind that they will be able to recover from and successfully adapt to the consequences of adverse events.